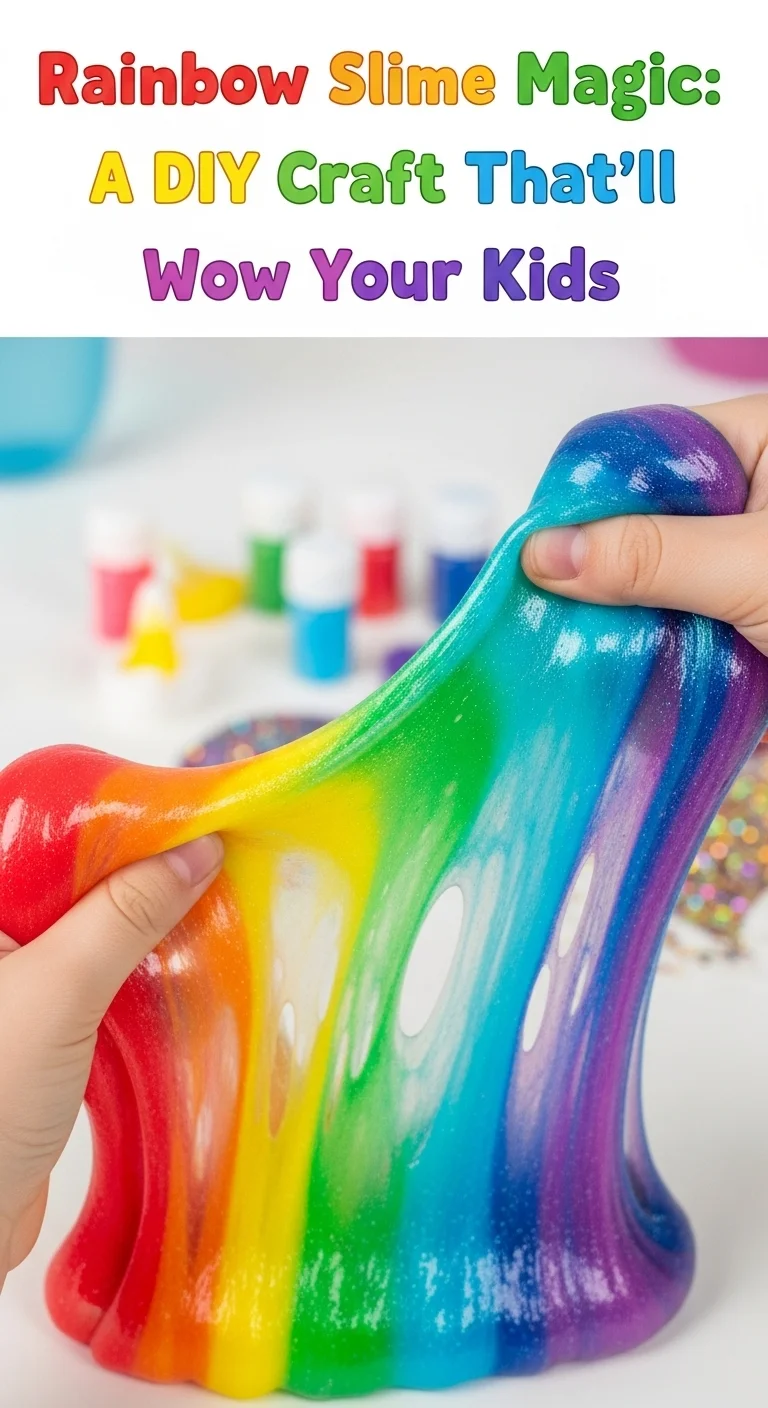
Rainbow Slime Magic: A DIY Craft That’ll Wow Your Kids
Is your child obsessed with slime? You’re not alone! In a world where screens compete for attention, rainbow slime offers a hands-on, colorful, and completely magical way for kids to engage their senses and creativity. But what makes this gooey, stretchy, sparkly trend so irresistible—and how can you make it even more memorable? Welcome to Rainbow Slime DIY Magic, the ultimate DIY craft that transforms ordinary afternoons into unforgettable moments.
Whether you’re planning a birthday party, a rainy-day activity, or just a fun bonding moment, this guide will walk you through how to create rainbow slime step by step, how to make it safe for toddlers, how to avoid sticky disasters, and why it’s more than just a mess—it’s a sensory tool and a bonding experience rolled into one.
Let’s get messy—in the best way possible!
Why Rainbow Slime Is More Than Just a Craft
Rainbow slime isn’t just about making a vibrant goo that stretches and squishes. It’s a full sensory experience:
- Boosts creativity: Kids learn about color mixing, textures, and patience while crafting.
- Sensory development: The gooey texture stimulates touch, which helps toddlers and young children develop motor skills and sensory tolerance.
- Emotional connection: Crafting slime together becomes a memory-maker for moms and kids alike.
- Science in action: It’s chemistry for kids—watching ingredients transform into slime is pure magic.
Want to explore more ways to make crafting meaningful? Check out our post on Mom and Daughter Style Trends—a stylish way to connect through creativity and expression.
What You’ll Need to Make Rainbow Slime
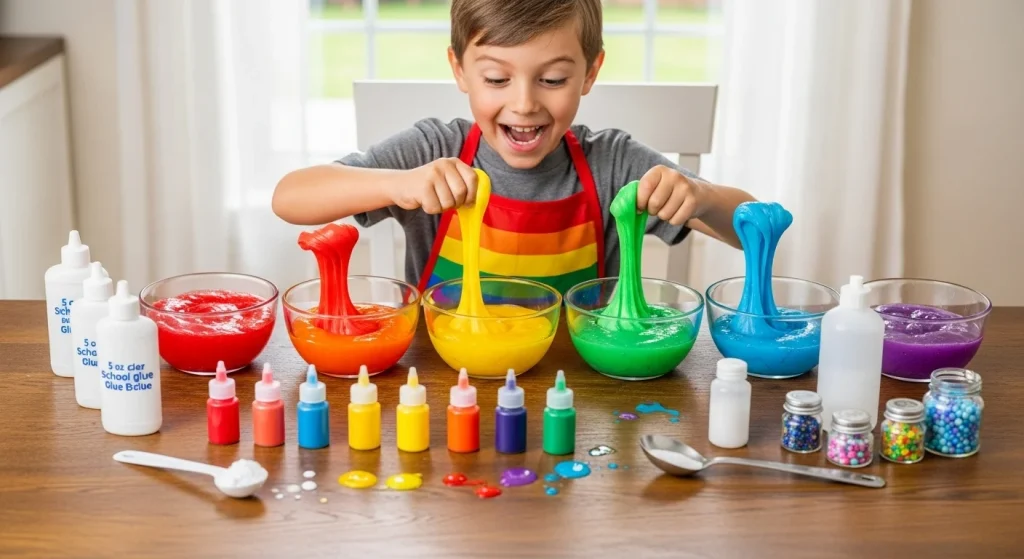
Before we get into the process, make sure your kitchen table is ready for a little chaos. (Hint: use a plastic tablecloth or tray to catch the spills!)
Ingredients:
- 6 bowls for each rainbow color
- 6 bottles of clear school glue (5 oz each)
- Liquid food coloring (red, orange, yellow, green, blue, purple)
- Baking soda (½ tsp per bowl)
- Saline solution or contact lens solution (1 tbsp per bowl)
- Optional: glitter, confetti, foam beads
Tools:
- Measuring spoons
- Mixing sticks
- Airtight containers for storage
Pro Tip: Always supervise toddlers and avoid borax-based recipes for younger children.
Step-by-Step Guide to DIY Rainbow Slime
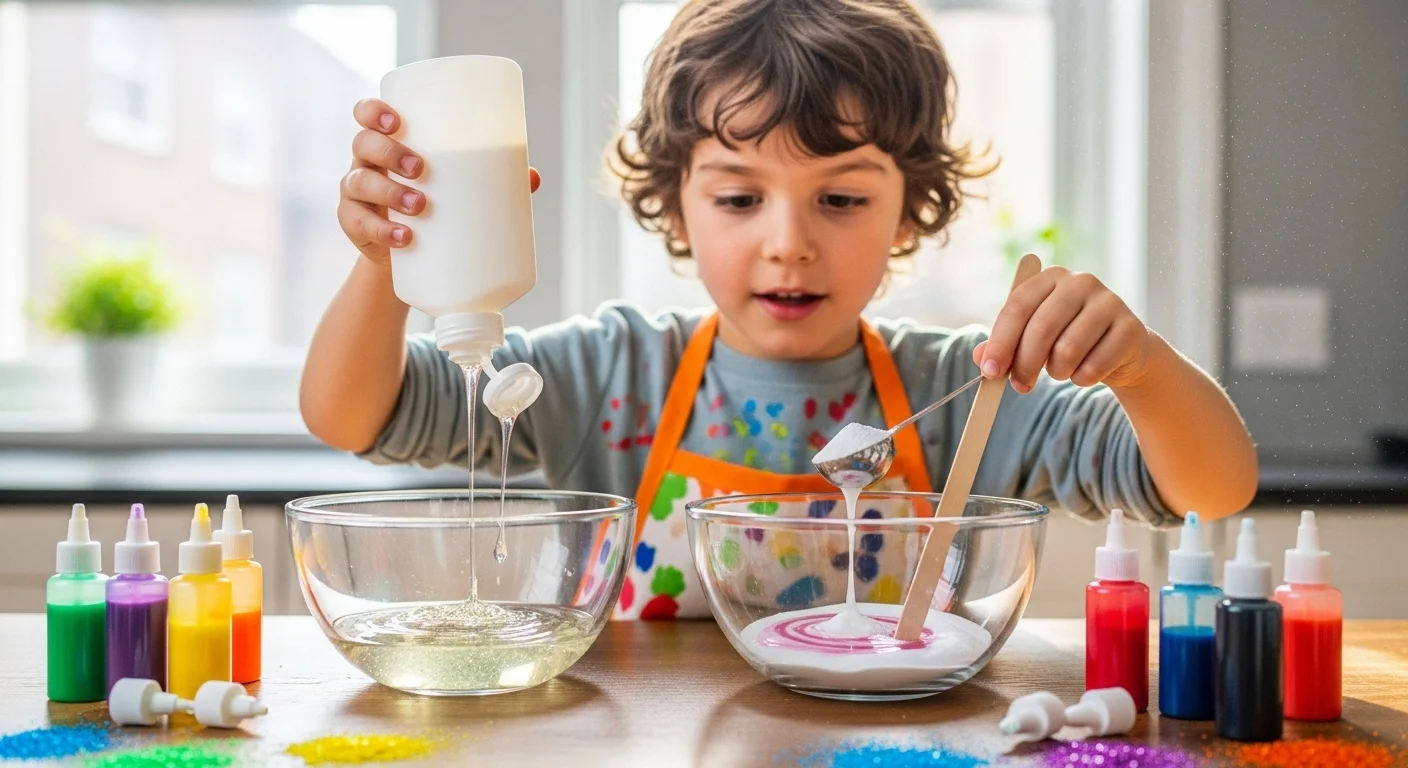
Step 1: Prepare the Base
Pour one bottle of clear glue into each bowl. Add ½ tsp baking soda and stir well.
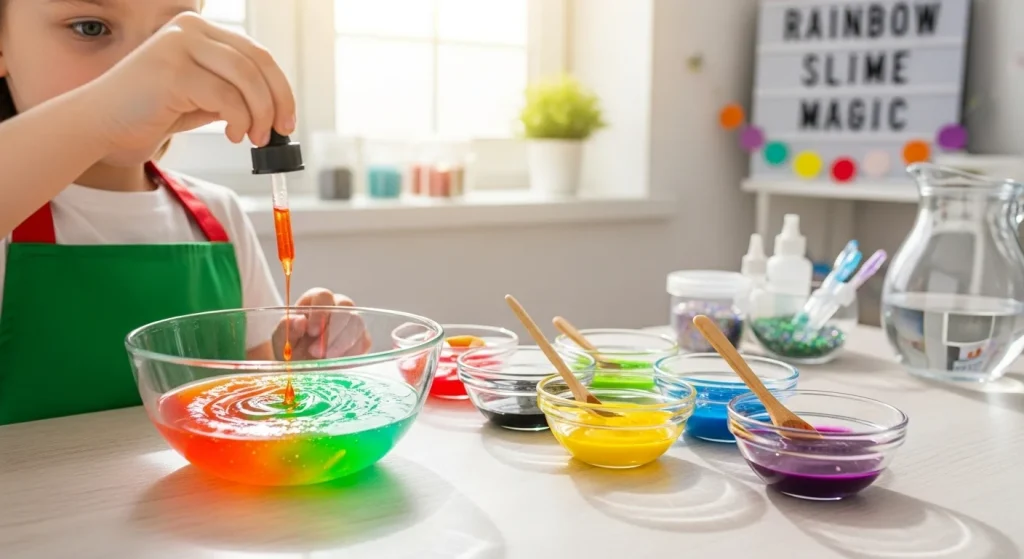
Step 2: Add Color
Add 2-3 drops of food coloring into each bowl. Stir until the color is evenly blended. This is a great opportunity to teach your child about color mixing!
Step 3: Activate!
Slowly add 1 tbsp of saline solution while stirring. The slime will start to form. If it’s still sticky, add a few drops more. Once it begins to pull away from the sides of the bowl, knead it by hand.
Step 4: Add Glitter & Texture
Optional, but oh-so-fun! Add glitter or foam beads for an extra layer of sensory excitement.
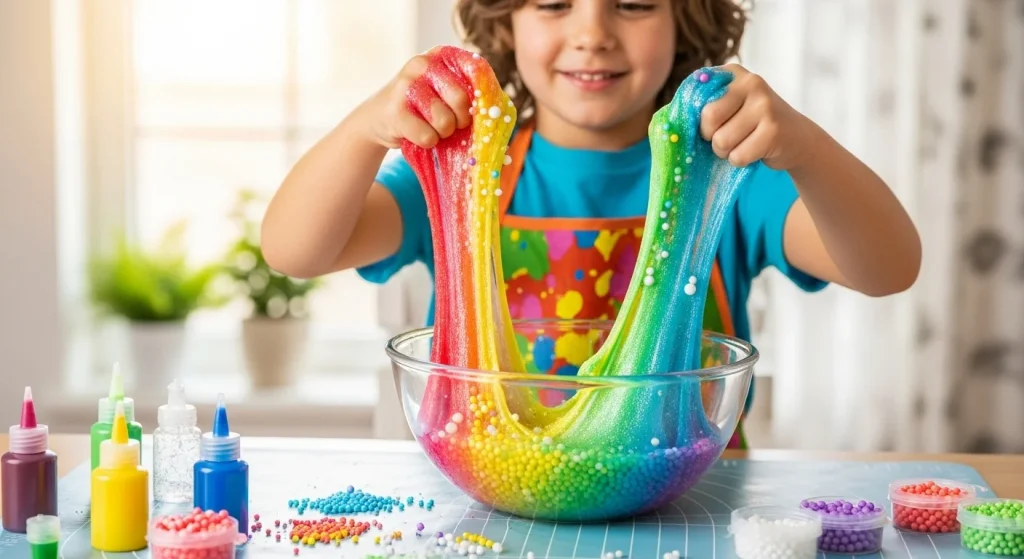
Step 5: Layer It
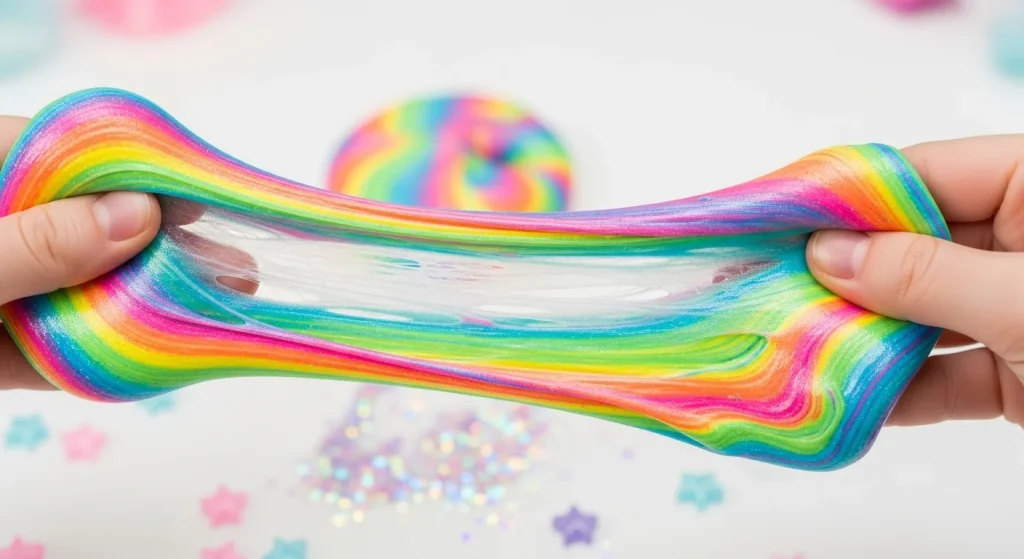
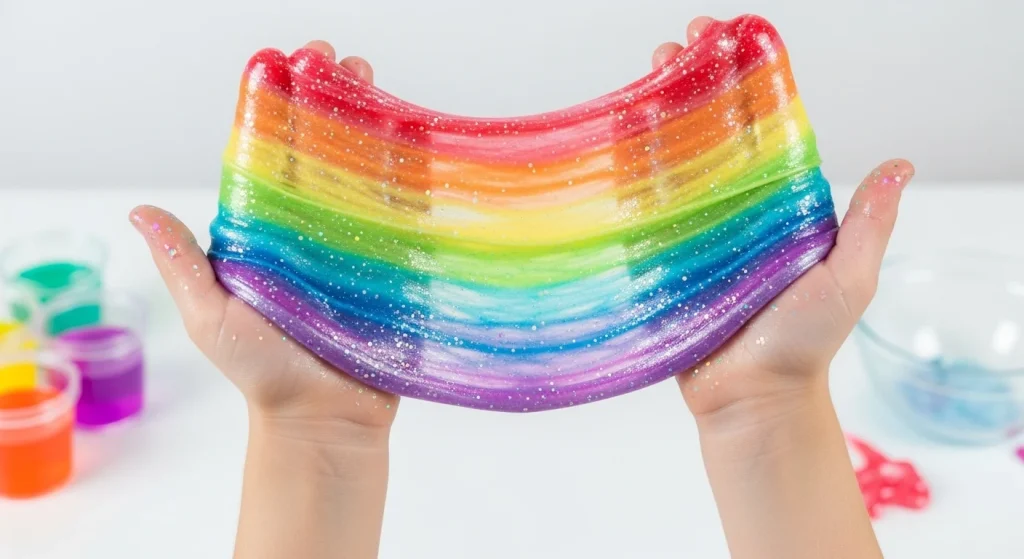
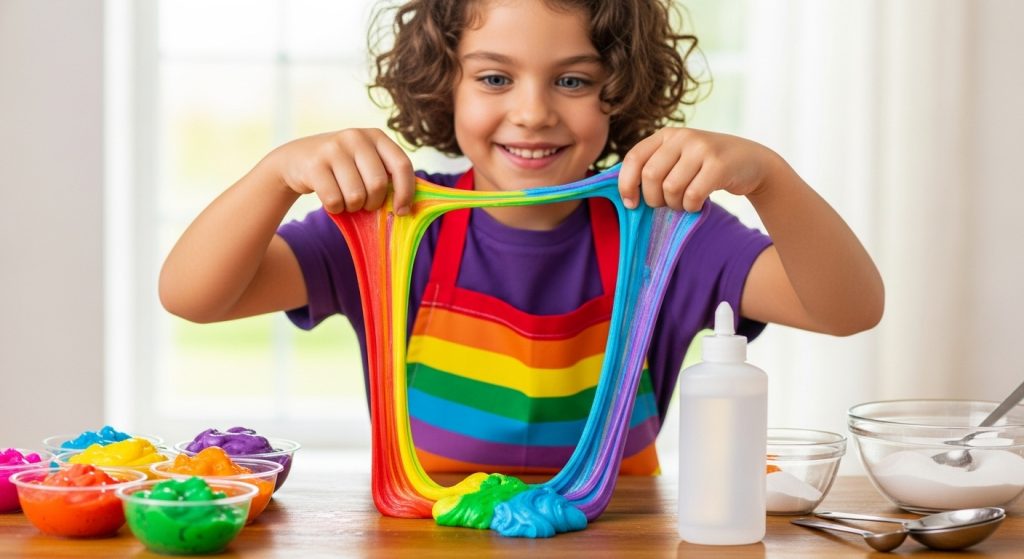
Once all the colored slimes are ready, roll each into long “worms” and place them side by side. Twist and gently stretch to create your rainbow slime swirl!
How to Store Rainbow Slime (Without the Smell)
Nothing ruins slime magic faster than a dry or stinky mess. Here’s how to keep your slime fresh:
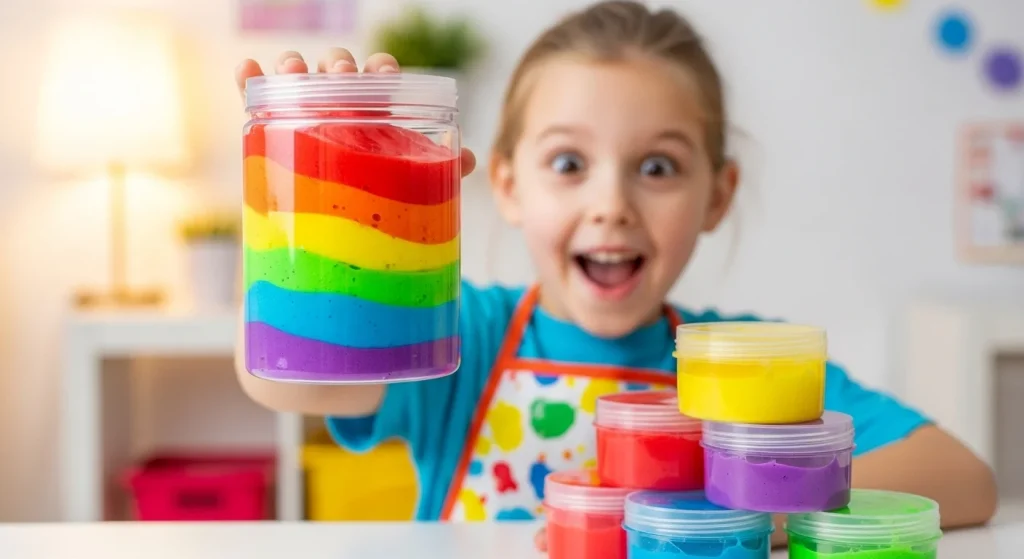
- Store in air-tight containers
- Keep in the fridge for longer shelf life
- Add a few drops of essential oil (like lavender or lemon) for a fresh scent
- If it gets too sticky, sprinkle with a pinch of baking soda and knead again
Slime Safety Tips for Moms
- Always supervise slime play with younger kids.
- Avoid borax in recipes for toddlers—use saline solution instead.
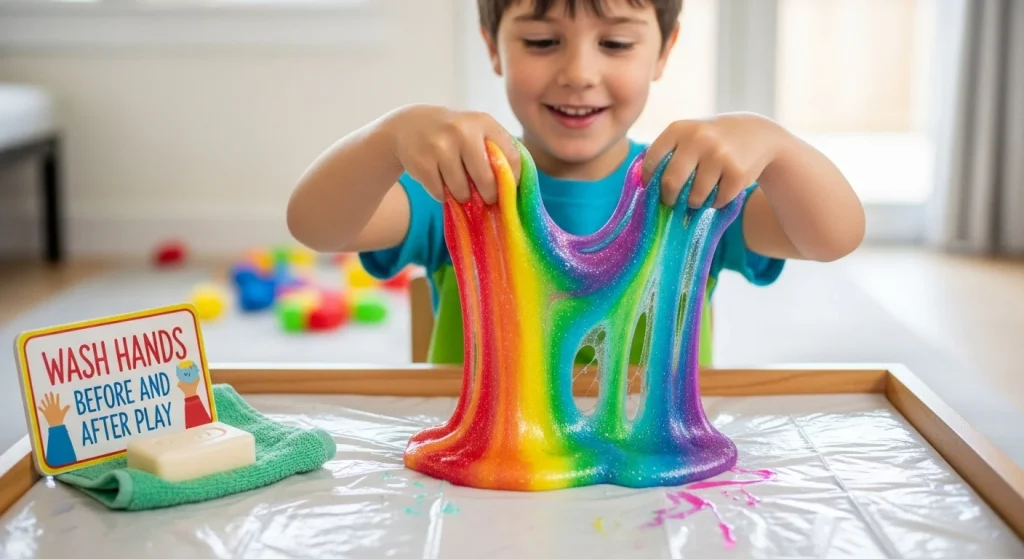
- Wash hands before and after play.
- Keep slime away from hair, carpets, and pets!
7 Genius Ideas to Use Rainbow Slime
Want to turn your rainbow slime into more than a solo craft? Here’s how to use it for connection, learning, and fun:
- Slime Color Hunt
Hide small toys or beads in the slime and have your child hunt for matching colored items. - Slime Letters
Form letters and practice spelling out their name—tactile learning at its best! - Glitter Galaxy Slime Jars
Layer different colors in small jars for calming sensory bottles. - Rainbow Slime Sensory Tray
Add the slime to a tray with scoops, rollers, and kid-safe scissors. - Slime Party Favors
Hosting a birthday? Package mini rainbow slime jars as party favors. Want more party ideas? Check out our latest post on Slime Party Fun to wow your little guests. - Matching Outfits & Slime Time
Plan a “messy day” with matching aprons and rainbow slime—capture the moment for memories. - Emotions in Colors
Let kids choose a color to match their mood and talk about it. It opens up emotional expression in a playful, non-intimidating way.

Why Kids LOVE Rainbow Slime (And Moms Secretly Do Too)
There’s something magical about seeing your child beam with pride when they stretch their first rainbow slime swirl. But what many moms don’t realize is this:
Rainbow slime is more than a mess—it’s a moment.
A moment where they feel in control, creative, connected, and joyful. And yes, it gives you a chance to step back, breathe, and smile at how something so simple can light up their world.

Troubleshooting Slime Problems
Slime is too sticky?
Add a few drops of saline solution and knead it in.
Slime is too rubbery?
You may have added too much activator—mix in a small bit of glue and water.
Colors mixing too fast?
Make sure the slime isn’t too soft when layering. Slightly firmer slime holds colors better.
When to Say Goodbye to Slime
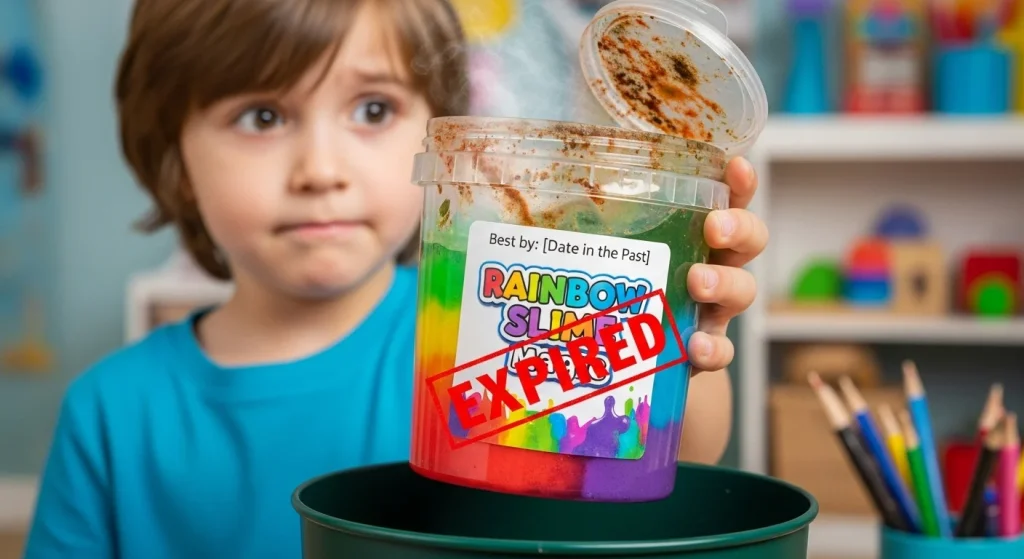
Signs it’s time to toss:
- Funky smell
- Mold or fuzz
- Too sticky to fix
- Kid suddenly isn’t interested (and it’s okay—they always come back to it)
Final Thoughts: Why This Craft Never Gets Old
Rainbow slime hits all the right notes:
- It’s budget-friendly
- It promotes parent-child bonding
- It supports creativity and emotional development
- It’s just plain FUN
Whether you do it once a month or every week, it’s a ritual that becomes part of your child’s happiest memories. And for moms? It’s a small, colorful reminder that magic lives in the everyday messes.
